Legends of the Engine Compartment
Part 9
September 13-15, 2002
After "Legends" Part 6, our sandblasting misadventure, I decided that I would really like to have a blast cabinet. The problem that confronted me was one of cost. We have been using a pressure-feed sandblaster. The way this thing works is that the hopper that contains the blast media is pressurized. At the bottom of the hopper is a valve and downstream of that, a tee into the compressed air line. The pressurized media is forced into the compressed air stream and makes its way to the nozzle. The other type of sandblaster is a siphon-feed unit. With these, the hopper is not pressurized, and the blast is just siphoned off the bottom of the hopper by the compressed air rushing by. The pressure-feed units are more efficient because it is more efficient to push the sand out of the hopper than to vacuum it out. I think.
Every blast cabinet I have ever seen is siphon-feed. This is because blast cabinets recirculate the media. It falls to the bottom and is drawn off to be reused. This poses a problem for me, because my compressor is a 4 hp. single stage Craftsman. It will power the pressure-feed unit no problem, but I seriously doubt it can flow enough air to get good results with a siphon-feed blast cabinet.
So I started totaling up the costs. At a minimum, I figure $800 for a halfway decent blast cabinet with a light that works and a functional vacuum system (necessary to remove media dust from the cabinet so that you can see what you are doing), plus at least another $800 to buy an adequate compressor. Given the total cost of my Corvair project right now, I simply don't have the budget for this.
Never one to give up without a fight, I thought that maybe I could build my own cabinet. Corvair icon Rick Norris and I exchanged a number of e-mails about this off-list, and Rick made a number of valid points that can best be summed up by this quote from Rick: "Do I think you are wasting your time building your own cabinet? Yes." On the other hand, it may be that my purpose in life is to serve as an example to others. So, being forewarned, we yet decided to forge ahead and build our own cabinet. We decided to build it out of wood, since I happened to have some on hand.
Except for the fact that it is wood instead of metal, our cabinet when completed will look pretty much like a commercially available unit. At the end of what is going to be a series of two or three posts, I will give a materials list and a total project cost.
2005 update: ok, I never got around to posting the plans and price, but click here for a more detailed description of materials and plans.
Like true rednecks, and without further ado, I'll now answer the question, WWBD?
That is, What Would Bubba Do? Y'all watch this!
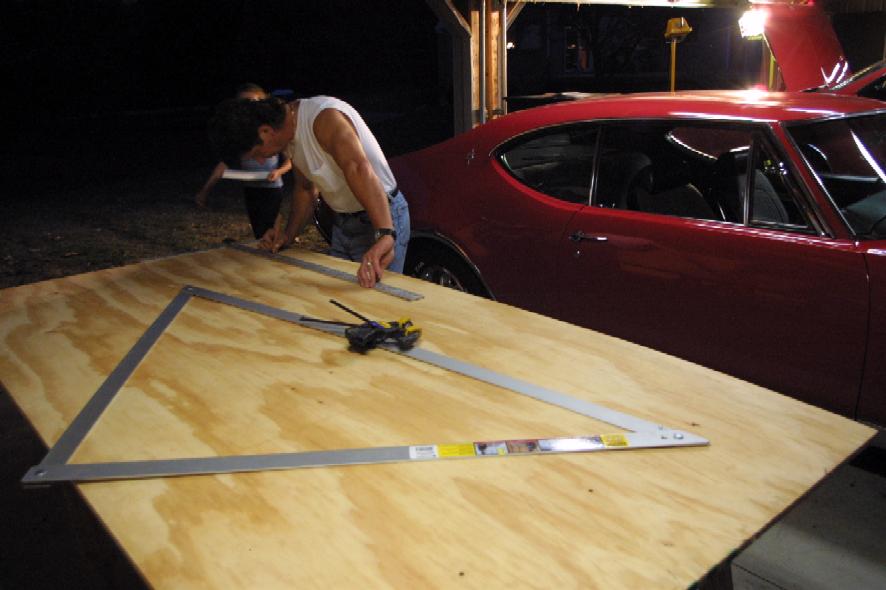
I drew some plans for our cabinet, and the next night we started by laying out the design on two sheets of 3/4 inch plywood.
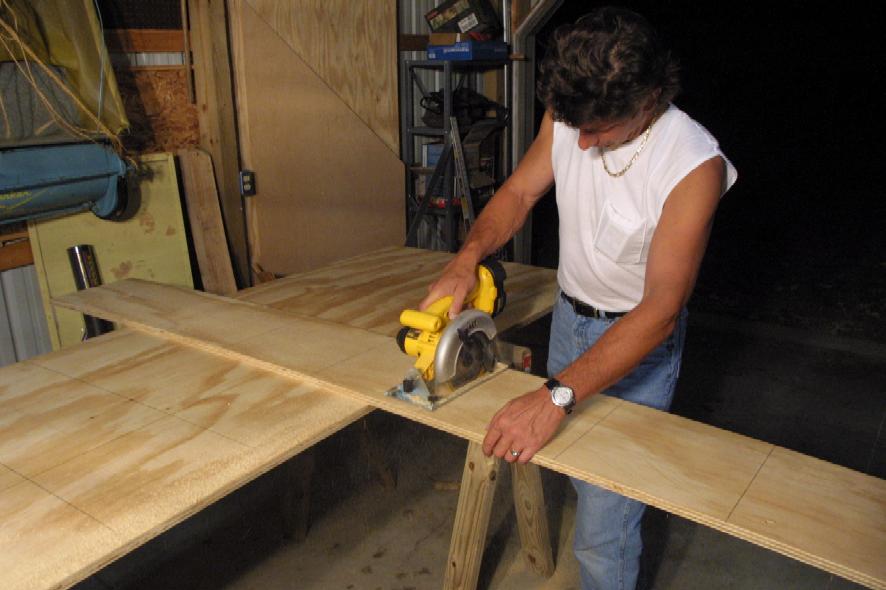
I deliberately planned to build the cabinet in 1' increments for ease of construction. Jeff thought it would be a good idea to turn our plywood into a great big piece of graph paper, so he laid out a 1' x 1' grid on both sheets. This did not take much time and made it very easy to lay out the pieces on the sheet. The next step was cutting out the pieces. Here's Norm Villa or Bob Abrams or whatever:
Next, while I went in the house to help my wife get the kids to bed, Bob Abrams started assembling the cabinet.
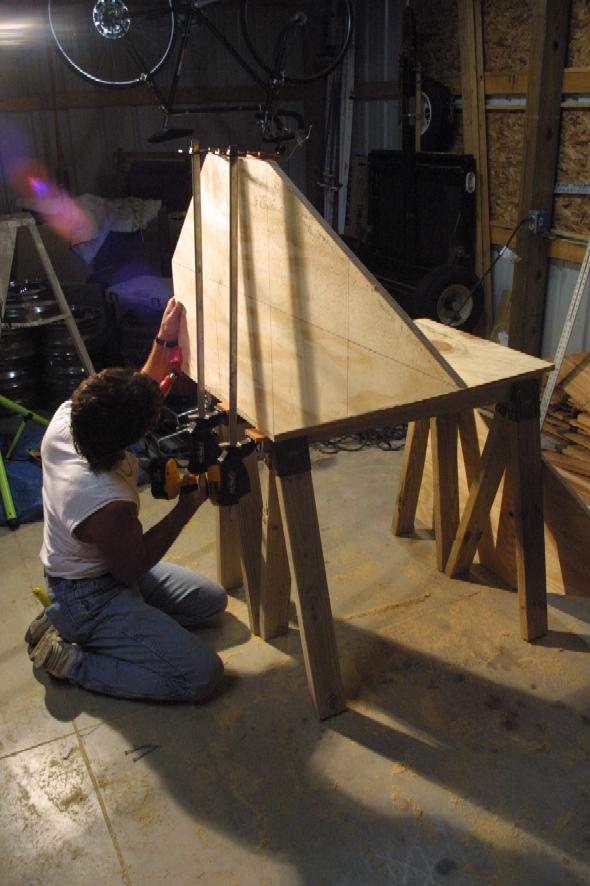
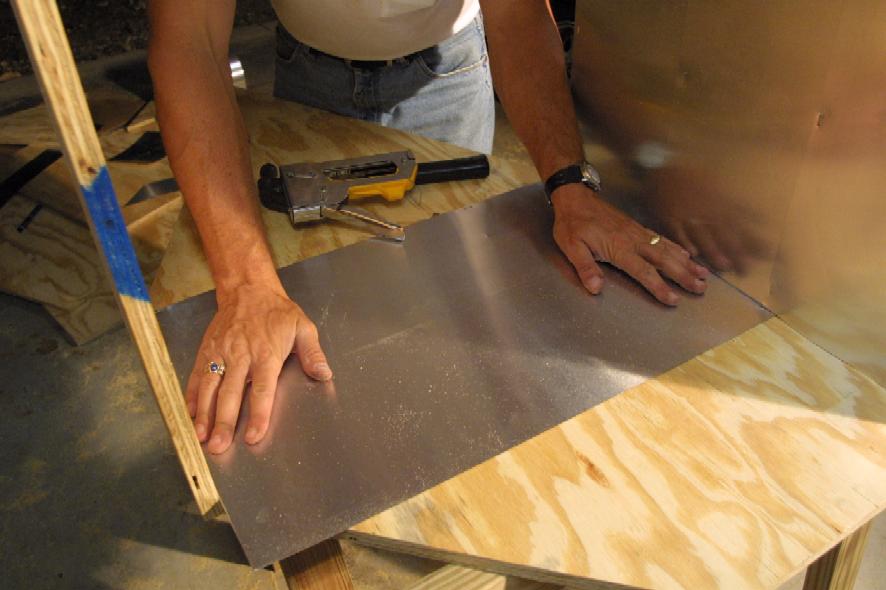
When I got back I started attaching aluminum flashing to the inside panels of the cabinet. We decided to armor the cabinet interior with roll flashing in the hope that the flashing will hold up better than unprotected wood. Will it work? Who knows!
Somewhere in there, I, Norm Villa, and my trusty assistant Bob called it a night.
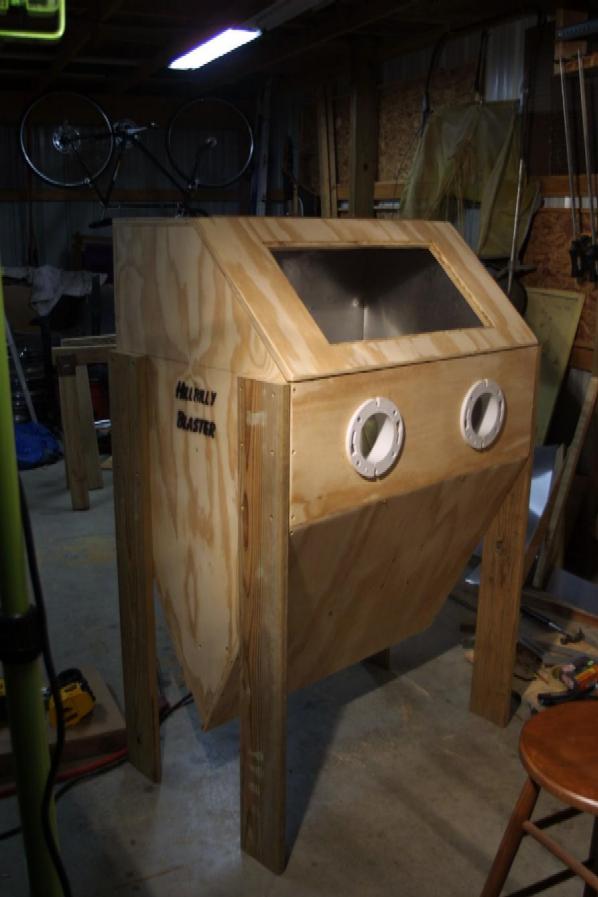
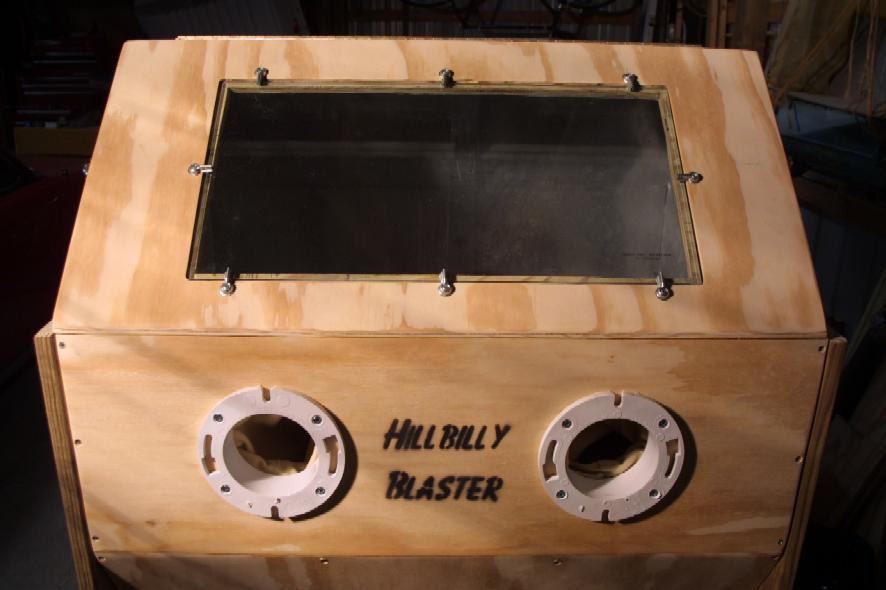
Saturday Bob Abrams and I made a fair amount of progress on our Rube Goldberg contraption. The bottom back was attached, a door was attached to the top with a piano hinge. Jeff, er Bob, cut a hole in the door for the 12" x 24" piece of safety glass we bought for a window. We cut two holes in the front where your arms go in; you know, the traditional Will Robinson's Robot in reverse kind of affair.
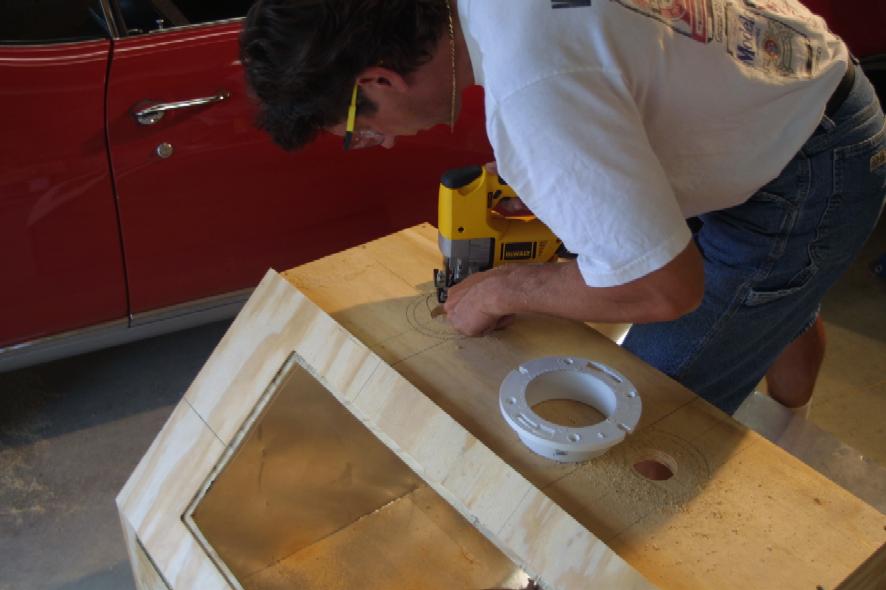
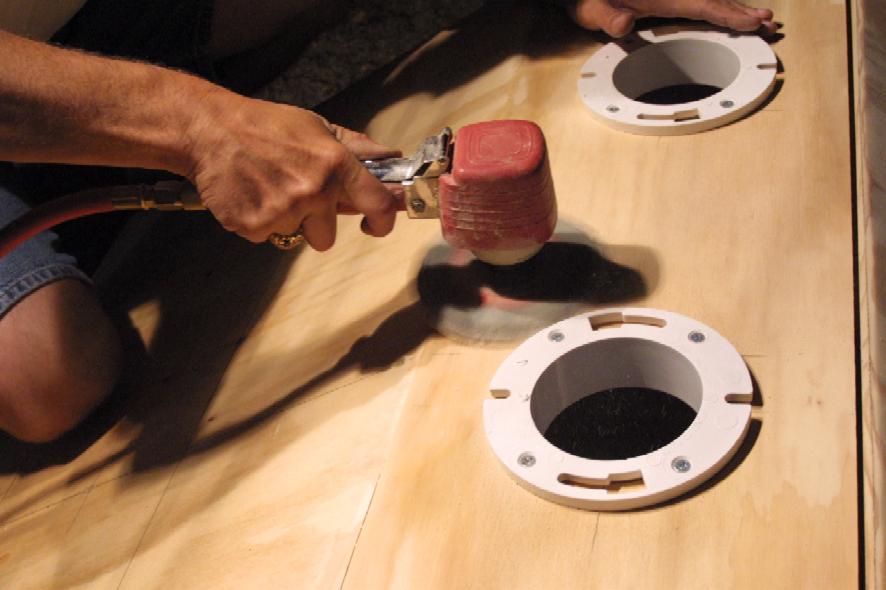
As you can see, we selected custom fittings for the cabinet-to-glove interface, known generically as toilet base flanges. This is, after all, a redneck project. (At least we did not buy them used. If this doesn't work as a sandblasting cabinet we're gonna flip it on its back and have us a two-holer outhouse.) Somewhere in there we put the bottom front of the cabinet on the box. Before we did that we added a baffle at the bottom of the cabinet so that we don't get high power blast out the bottom. Enough of that goes on around here already.
Jeff-Bob sanded it down real purty because we may be hicks, but we's still gots power tools:
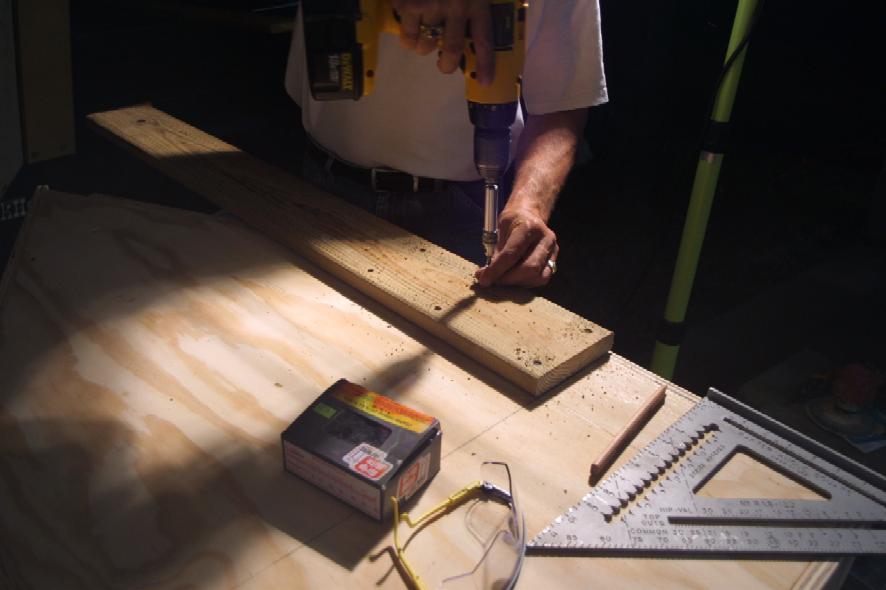
We put the legs on her,
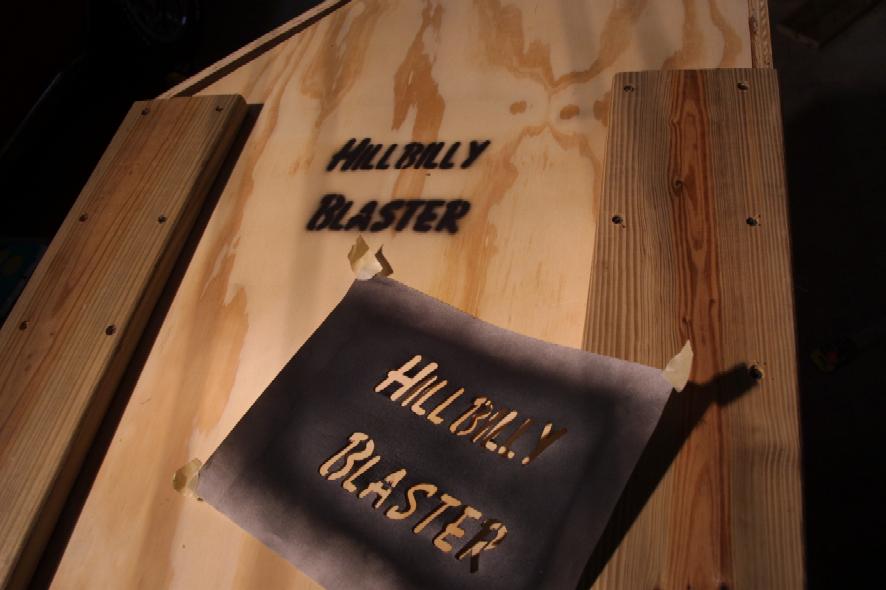
and then painted on our own custom logo:
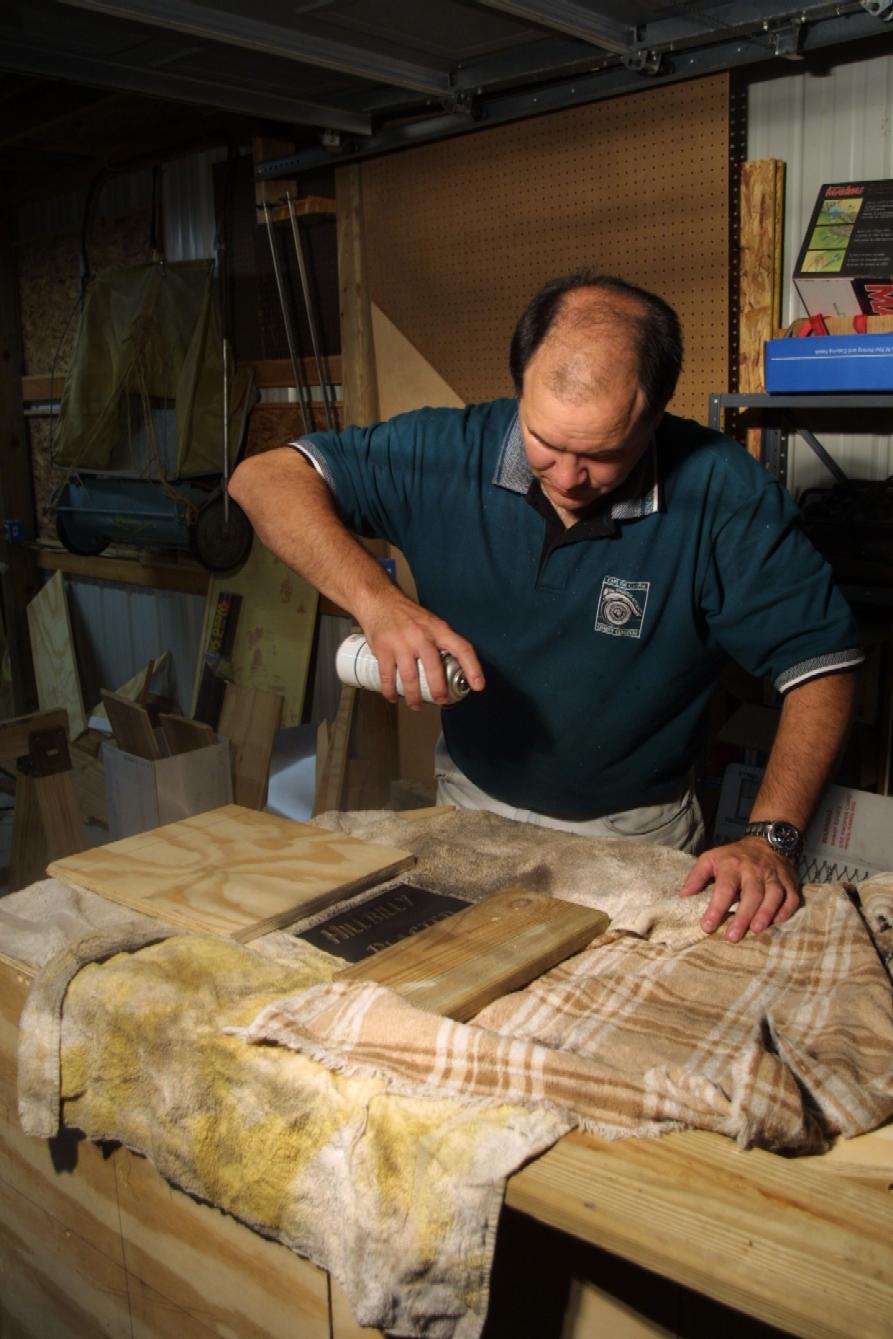
(That's me, Norm-Bob, with the shiny head.)
We kinda liked the brand name, hope it sticks and becomes a household phrase:
She stands thar under her own power for the very first time:
After all of this foolishness we called it a night.
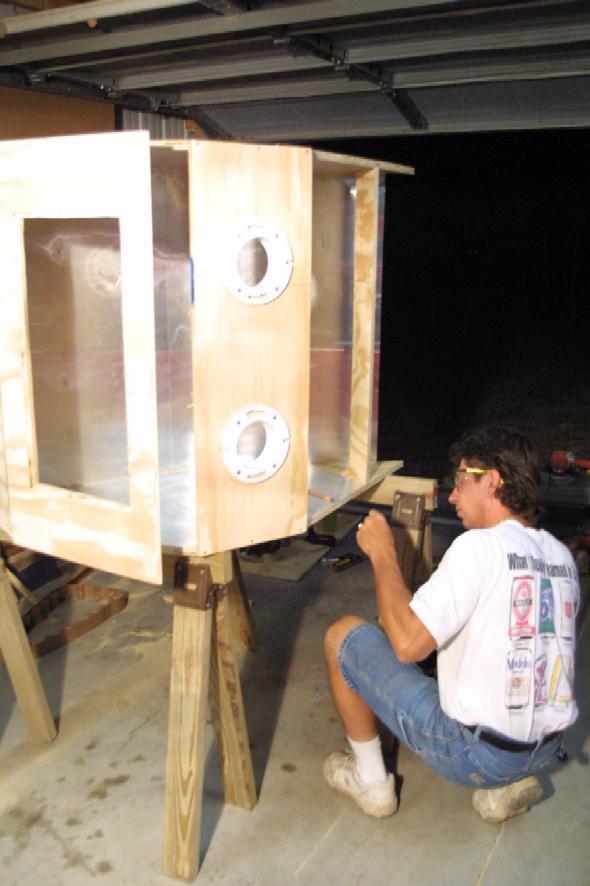
Sunday after church we reconvened at Hick Central to continue assembly. Mostly we added details: hasps to hold the top down, dogs to hold the glass in place, more armor for the inside. My daughter Allison and I cut the legs off of a pair of my wife's Gloria Vanderbilt jeans (I think she needs more shorts) and sewed them into a pair of rubber gloves. These we attached to the NEW and shiny toilet flanges with hose clamps.
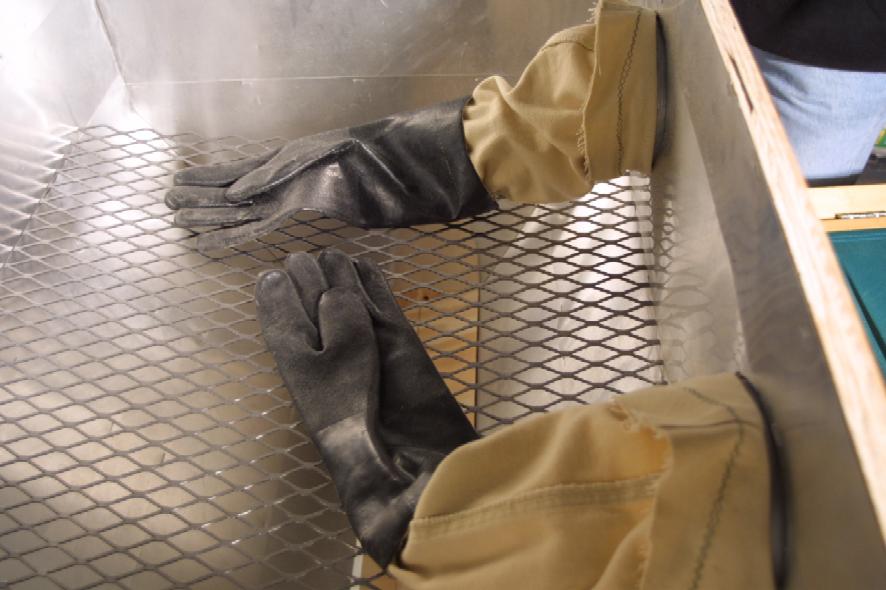
This picture is kind of a mock up in the sense that the grate you see is not permanently in place. We are going to add a lip out of angle iron to support the grate before this is done. Here is a picture of the mighty Hillbilly Blaster with the glass in place.
There is a sheet of acetate underneath the glass so that we don't etch up a perfectly good and expensive window. We got the glass and the acetate at Precision Tool for about $30.
That is where the beast stands now. In addition to the angle iron ledge inside, we still need to add fittings for the sandblaster, a shop vac pickup, and the interior lights, wiring and switch. All of this to come in the next one (or maybe two) Legends of the Shanty, er, Engine Compartment.
All images and text copyright Norman C. Witte 2002.