Legends of the Engine Compartment
Part 8
September 11, 2002
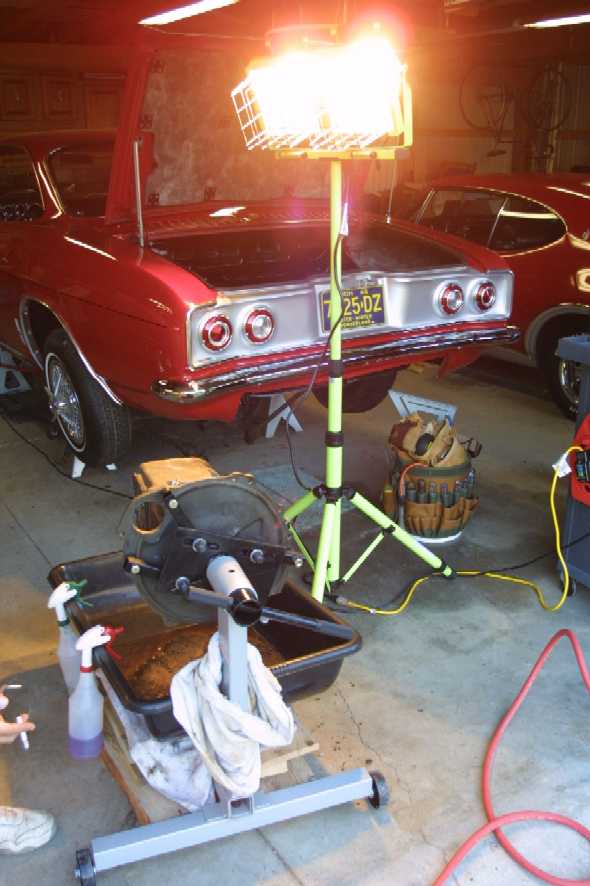
Last night we continued work on making the transaxle pretty. We got a big basin to put under the engine stand (as you can see in the picture above) and that has made work a lot easier. I think it cost $12 at Home Depot and was originally intended for the mixing of cement.
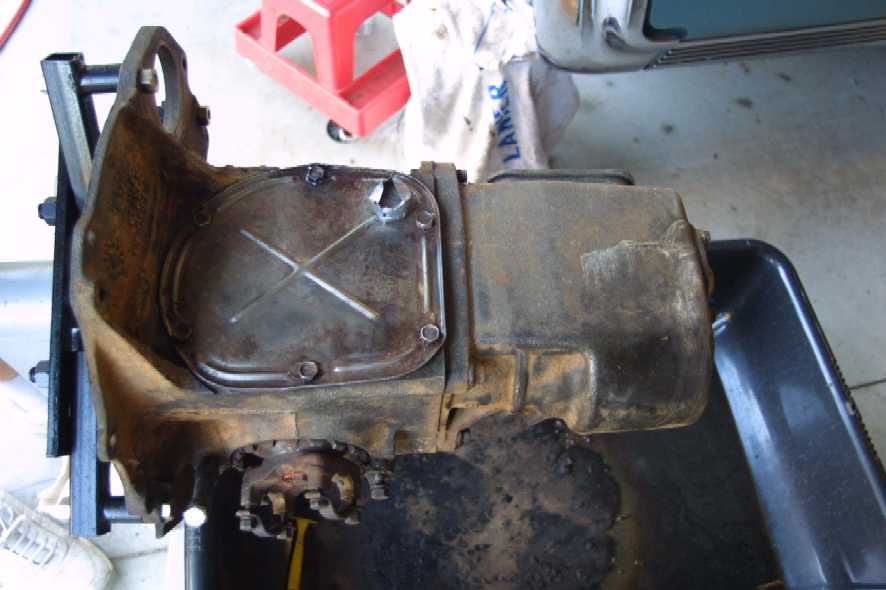
The transaxle looked like this when we started:
As we scrubbed we were surprised to find that the rust on the case was very light and came off easily with a small brass brush. We were spraying carb cleaner on the transaxle and that seemed to help. Here's Jeff hard at work:
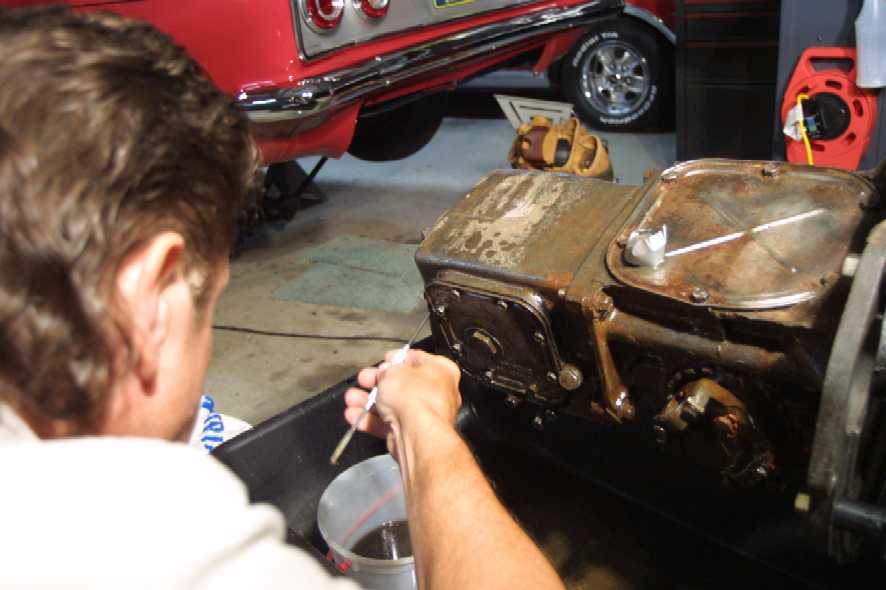
(I had Jeff take a couple of pictures of me working because so far in this chronicle it looks like all I do is goof around and take pictures of Jeff, but they sucked. Poor subject matter, I guess.) As you can see in the next picture, the rust is cleaning off quite nicely:
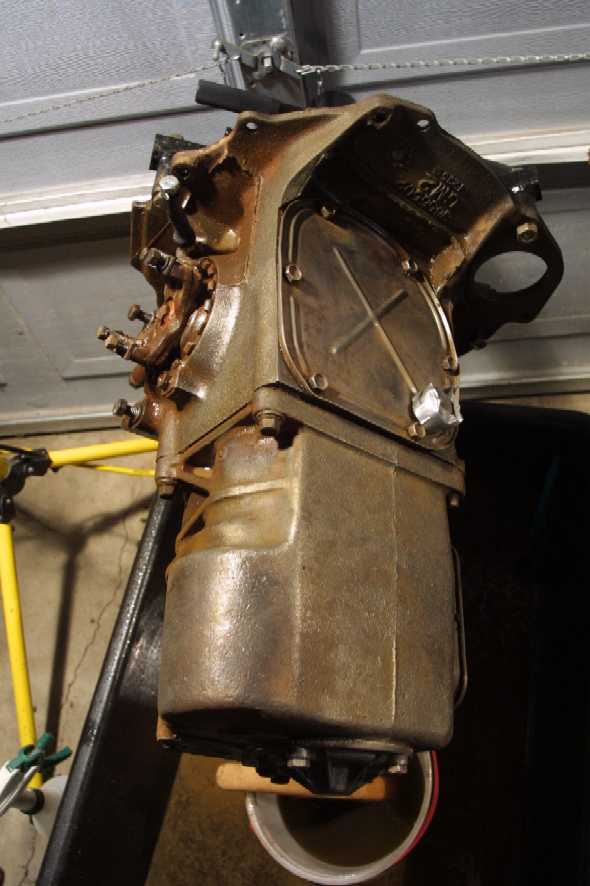
As I mentioned in the Prologue, this car is remarkably rust free. It kinda bent my mind that an unpainted steel case 37 years old could survive with so little rust, but there it is. Right now I am thinking that once we get it all pretty, we will just clear coat it with high temp engine clear.
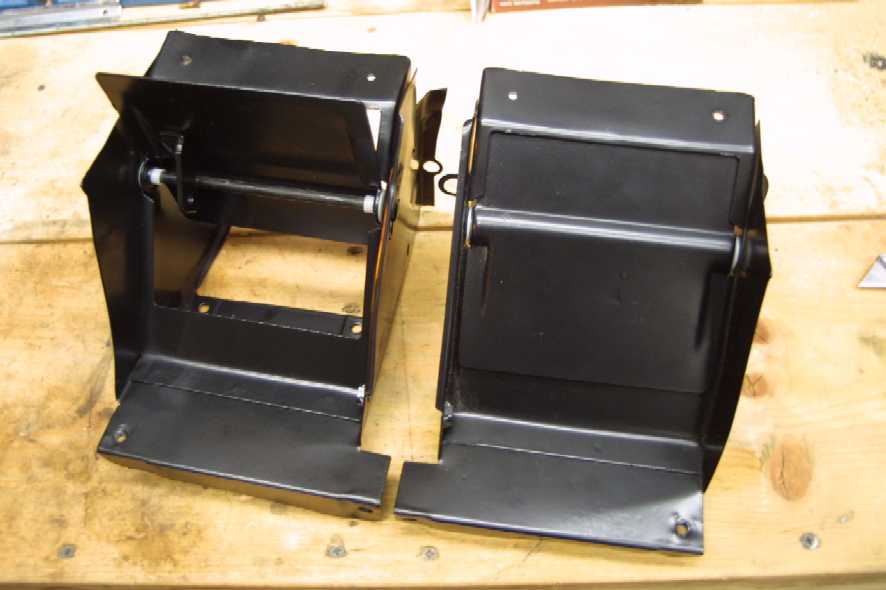
In other fun activities, I put the new bushings in the freshly powdercoated lower shroud doors:
We also did more polishing on the crossover tube that runs between the carb bases. The wiring harness was new a couple of years ago, but the tape had ripped in a couple of spots, so we retaped it and reinstalled it in the car.
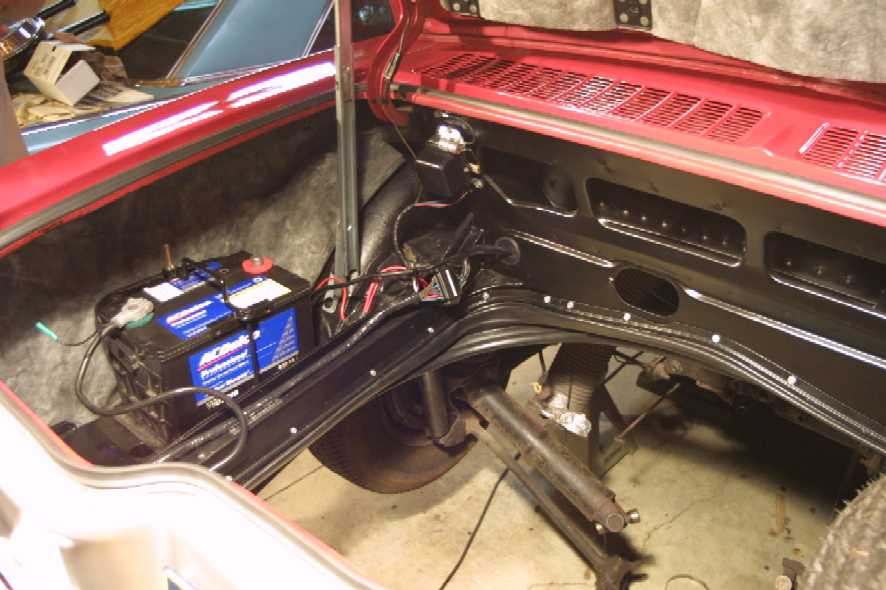
The engine compartment is starting to look like an engine compartment again! Pretty soon we're going to have to get cracking on the suspension because the motor (hopefully) will be done "within the next week."
All images and text copyright Norman C. Witte 2002.