Tinkering, Part 1
October 27, 2002
Or, as Bill Hubbell put it, Legends of the Engine Compartment 2 - The Bearings Strike Back.
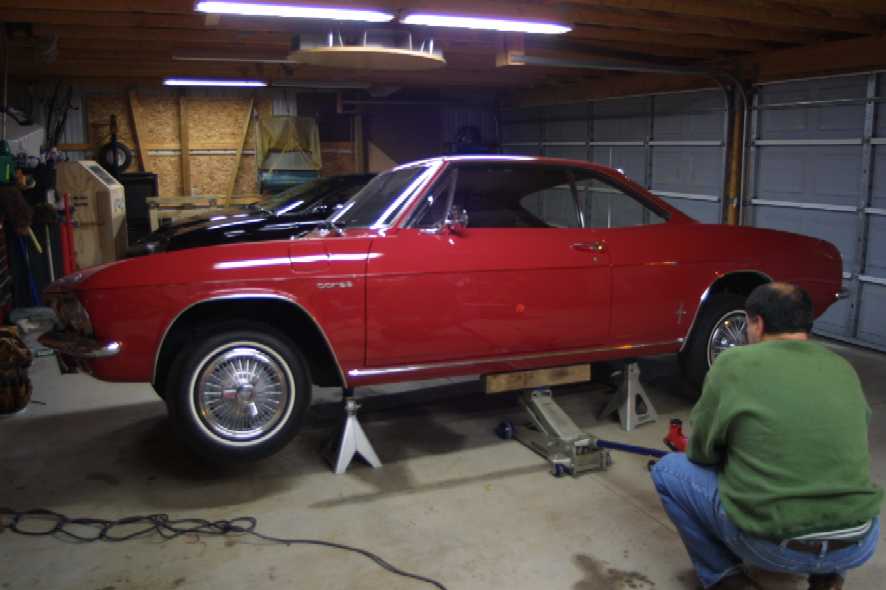
I was gratified that my rebuilt motor ran well, and that everything stayed together when we put the Vair back on the road a little over a week ago. However, I had a growing list of issues to address, some minor, some not so minor:
1) As I let out the clutch I got a loud growl/groan/squawk/squeal.
2) My reverse lamp switch was leaking transmission oil.
3) There was a disconcerting amount of noise coming from the blower bearing.
4) We had not yet installed the left muffler heat shield because I lacked the additional strap to hold the front end of the shield to the muffler.
5) The plug that goes into the bell housing where the clutch lever goes in was missing.
6) Carburetors had not yet been adjusted and synchronized.
Obviously, most of these issues could be addressed in the car. However, there was no doubt in my mind that the throwout bearing was making the growling noise, and although I suppose there is the chance that this noise would simply go away, I had no interest in having a subpar part on my car if I could easily remedy the problem, and with the experience of pulling the drivetrain this summer behind me, I figured it would not be that big a deal to pull the drivetrain back out, and while having it out, address most of the issues on my list.
Face it, I really just missed the opportunity to write reaaally looong posts to the
Virtual Vairs list, and not being innovative enough to create something as cool as a jet-powered beer cooler, the only good alternative was to start tearing the Vair apart. I hoped to get the whole project done this weekend (where do I come up with these ridiculous notions) but between two soccer games, church and a major disaster in the office I only got a couple of hours out in the barn.The first step was for the Vair to rejoin
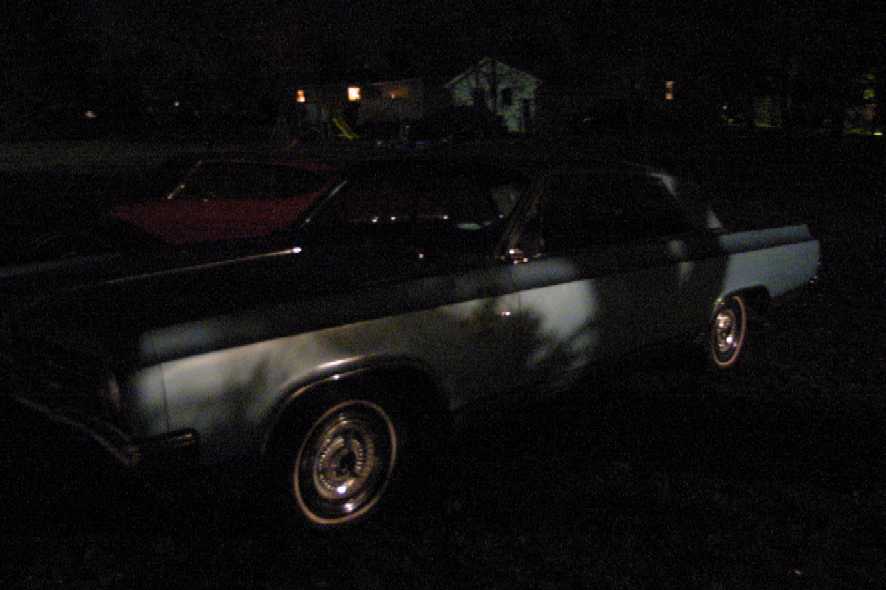
GROUP Red. Step one (a) was to exile the Oldsmobiles:
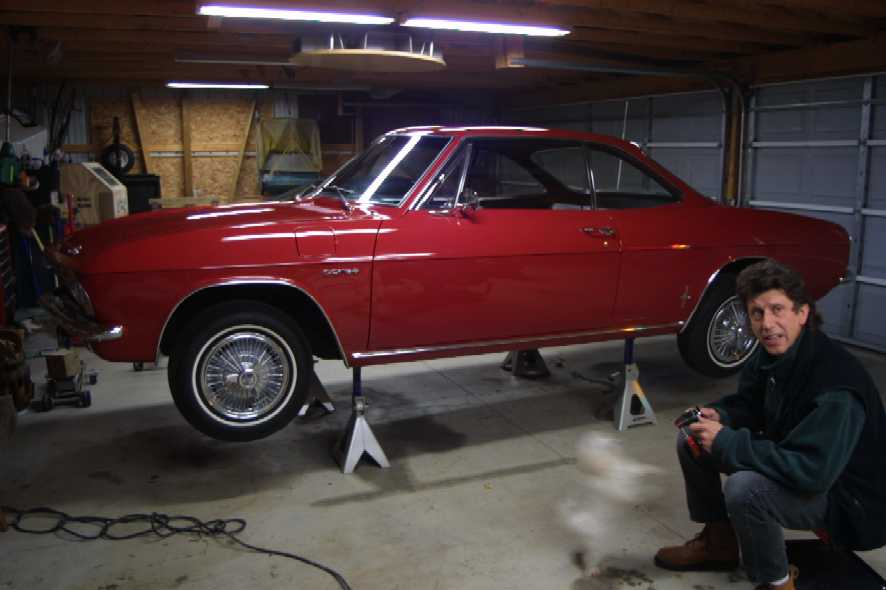
Step two was to jack the car up. I now have a system of doing this. I use a small jack ahead of the rear wheels to lift the side of the car enough to get my three-ton jack under the car with a 4x4 under the pinchweld that runs along the rocker panel. Then I jack at the pinchweld until the car is high enough for me to get a jackstand under the front subframe and in the rear at the place-where-the-jackstand-goes.
Then I go around to the other side of the car, and repeat the process, except I go up a few notches higher on the jackstand supports. I do this back and forth until I have the car where I want it. When I had it up all the way, I jacked it up just a bit at the front crossmember because one of the front jacks had chirped a little while I was raising the opposite side, and I wanted to make sure it wasn't leaning at all.
By the time I was done with this, Jeff showed up. We started by tightening the exhaust flanges that had loosened up a bit and inspecting the back-up light switch.
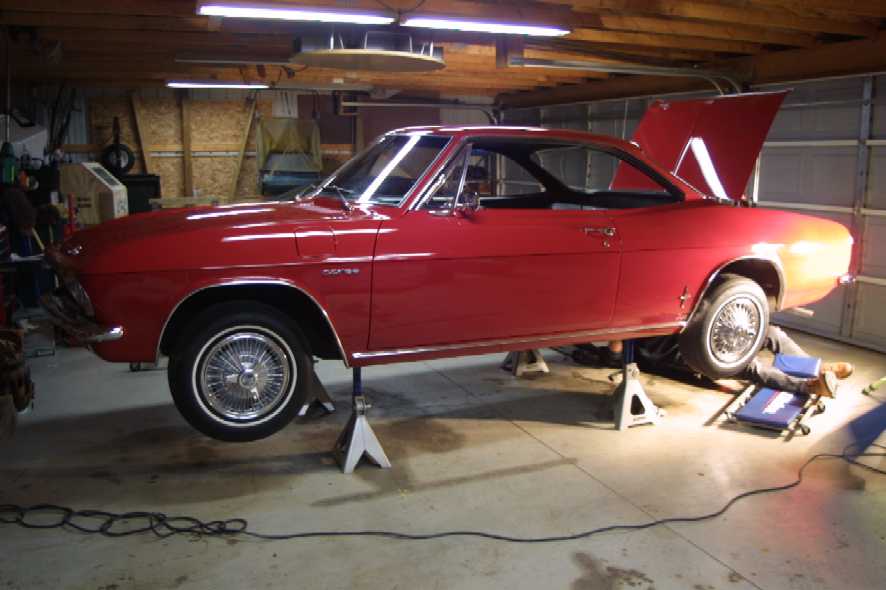
Next we removed the rear grille, removed the rear tire, disconnected the electrical connections to the motor, removed the air cleaner, air cleaner support, and disconnected the fuel line. (The battery had earlier vacated the premises to take up residence in the '63 Olds.)
This done, we started to detach the strut rod brackets from the transaxle, and it is here that we screwed up. Last time we did this job, we unbolted the brackets from the differential, and then loosened the strut rods at the outside. This time, we loosened the strut rods at the outside first, marking the proper camber adjustments with a paint pen. Jeff took two of the bolts out of the right side bracket and was backing the third out when the bolt launched. After recovering this missile, we tightened the outside bolts back down, and the rest of the bracket bolts were removed without incident.
It was at this point that supper was served. Since Joy had to leave for a meeting, this brought an end to the night's activities.
We bought a couple of small clamps to hold the U-joints together when we remove them from the differential, so that we don't lose the bearings. I also acquired a pilot bushing puller. Not that I didn't like all the other solutions that everyone came up with, especially the Wonder Bread cure, but I just like tools, and this one is particularly neat:

It should not take much time at all to get the motor out of the car. Updates will, of course, follow.
Legends of the Engine Compartment | Detroit Area Corvair Club Homecoming 2002 | GROUP Red | Gallery: 1965 Corvair Corsa 140 Coupe | Norman C. Witte Personal Web Page